Journey

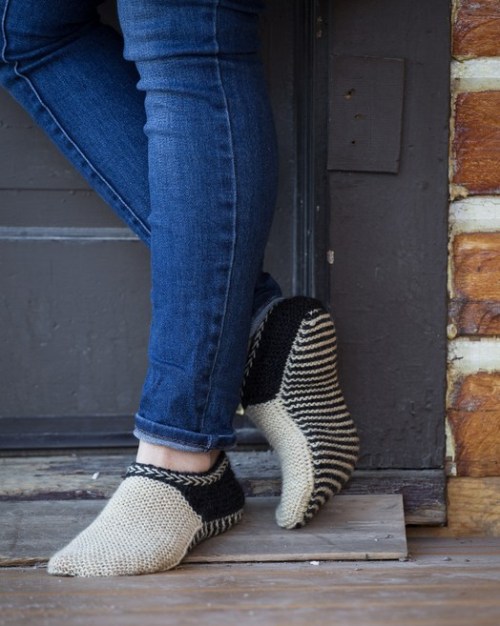
I’m so excited to finally share my Journey blanket with you. This was the first project I finished for the book and I feel like I’ve been waiting forever to introduce it to the world. TKFTF 9 web

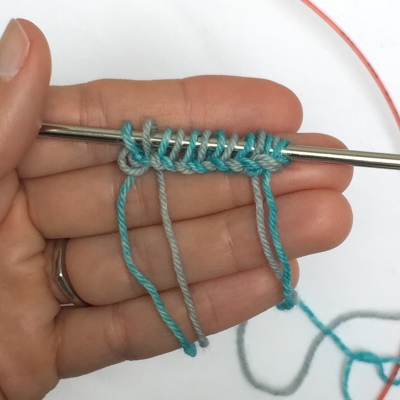
First, let’s talk about the technical aspects of the blanket. It’s knit in squares, from the centre out. The motif is surprisingly easy to work, as it’s done with stripes, slipped stitches, and cables. You only ever work one colour at a time, so it’s easy to do but results in something spectacular.

TKFTF 10 web

The pattern gives options for finishing, as I know people have strong opinions about how they like to do things. You can either leave the stitches of each square on scrap yarn and then graft them together, or you can bind off your stitches and seam them together as you prefer. The whole thing is then finished off with a few rows of garter stitch border.

TKFTF 27 web

For the sample I used Vahva Pirkkalanka by Pirkanmaan Kotityo, a beautiful Finnish 100% wool yarn, in 5 contrast colours and 1 main colour. The yarn is carried by Midwinter Yarns in the UK, and they ship internationally, if you’d like to replicate the blanket exactly. You can also substitute other durable worsted to aran weight yarns as you’d prefer, I really think they world is your oyster with this one.

TKFTF 15 web

As I said above, this blanket ties the whole concept of Travel Knits for the Family together for me. It is the perfect project for travel knitting since you only ever work a square at a time. It’s easy to stuff two skeins of yarn in a bag and work away on it as you sit in plains, trains, and automobiles. It’s also great for packing – for a week-long trip I would take two skeins of the main colour and a skein of contrast colour and have enough yarn to knock out 3 squares.

I also love the idea of making this blanket out of souvenir yarns. Maybe pick a neutral main colour yarn and then pick up a skein of contrast colour on your journeys and knit your memories into your blanket.

Our time living in the UK was an incredible experience. We knew when we moved there that it was temporary, so we tried to make the most of every minute we could. We decided that we wouldn’t save any money in those two years, and we also wouldn’t buy a car. We took any extra money we had and spent it on traveling, and I’m so glad we did.

For me, this sample holds a lot of really special memories because I worked on it on a lot of those trips. Our trip to Sri Lanka to visit my husband’s family. Our safari in South Africa, which was the trip of a lifetime. Visiting Greece, where we felt like we had traveled back in time.

This slideshow requires JavaScript.

But I also worked on that blanket during our everyday life in London, which was special too. Lots of train and bus rides getting around the city. Sitting outside at the pub while Pippa was at gymnastics. Watching the festivities at school sports days. During lots and lots of swimming lessons. Showing visitors around. Attending cricket matches, and even watching the tennis at Wimbledon.

This slideshow requires JavaScript.

Now that I’m feeling all teary and sentimental – I’m going to say thank you for reading about our Journey, and for your interest in Travel Knits for the Family. This book has been a labour of love for me. I’m so very proud of this project. And I’m proud of all the women who have worked so hard to make it a beautiful thing.

The book is now available for order in my Etsy shop, and directly from Amazon. To read more about the book itself, it’s all here.

Copenhagen

It’s time to introduce Copenhagen, the third pattern from Travel Knits for the Family.

TKFTF 14 web

There were a few times in our travels when our accommodations were a bit on the chilly side – usually in little old British country cottages. We started to bring slippers along on those trips and they were always much appreciated. These little foot warmers are nice and compact to fit into your suitcase without taking up too much space (more room for knitting projects!)

TKFTF 12 web

These slippers are almost as much fun to knit as they are to wear. They are worked in 4 sections, seamlessly, using a variety of techniques to achieve a great fit and a great look.

TKFTF 11 web

Our trip to Copenhagen was quick and lovely. We checked out lots of Copenhagen, but didn’t take a lot of photos because it was pretty cold. We took a boat tour of the harbour, which was a great way to see lots of the city. We ate lots of open-faced sandwiches. And we met friends who lived there and visited the National Museum of Denmark together.

This slideshow requires JavaScript.

For more information about Travel Knits for the Family, get all the details here.

Oslo

The next pattern in Travel Knits for the Family is named after the beautiful city of Oslo, Norway.

kate6522-e1525969790683.jpg

The pattern is for some very versatile mittens. They feature the same cable and rib pattern as the Bergen hat, but in mitten form. And for those who are more adventurous and need some extra warmth, the pattern has optional thrums worked into the centre of the cables. If this is your first time working thrums, there is a handy photo tutorial at the back of the book to walk you through it.

14-A37Y6333

The magic of the pattern is that it comes with lots of variations. Make them fingerless, full mittens, or flip-top. And you also have the choice to make them with thrums or not. For my family we ended up with two pairs of thrummed mittens – one flip-top and one full mitten – and two pairs without thrums – one fingerless and one full mitten.

18-A37Y6529

We visited Oslo in the Fall of 2017. We spent a day and a half in the city, exploring the abundant museums, the opera house, and the harbour area. The highlight of the trip though was the train ride from Oslo to Bergen. It’s actually billed as one of the top train journeys in the world, with good reason. It leaves from Oslo and winds its way through forests, lakes, and fields up to snow-capped mountains and rushing streams, and then back down through beautiful fjords on the way to Bergen. I tried to take lots of photos through the train windows, but in the end I decided to just enjoy the view.

This slideshow requires JavaScript.

For more information about Travel Knits for the Family, get all the details here.

Two-Colour Cast On

I used this Two-Colour Cast On to start my Lambton Panes shawl. I chose this cast on to mimic the slipped-stitch garter stripe edging that runs along the top edge of the shawl. After the first two stitches, it is simply a cable cast on, alternating colours. It’s a pretty simple cast on to perform, with pretty results.

What you’ll need: Needles required for the pattern, two colours of yarn.

Instructions:
First, with CC, make a slip knot and place it on the left needle tip.

step-1-slip-knot

Now insert the right needle tip into the slip knot knitwise, wrap with MC (leaving an end to weave in later), pull through and place on the left needle tip.

step-2-second-st
To make the third stitch, insert the right needle tip between the first and second stitches, wrap with CC, pull through and place on the left needle tip. Note: Always grab the next strand from behind the previous strand.

step-3-third-st

Make the subsequent stitches in this manner, inserting the needle between the first two stitches on the left needle tip, wrapping with alternating strands, and placing on the left needle tip. Do this until the required number of stitches have been cast on.

done-all-sts

And that’s all there is to it! You can use this to cast on as many as you need. It’s also a great one to use for the beginning of a two-colour brioche project, or perhaps some corrugated ribbing.

It’s a 2-Pattern Kinda’ Day

This is a big day Chez Cowtown Knits. I’ve been working on two collaborations with Third Vault Yarns, and both have just been published. Lola and I chatted about working together on some kits while sitting at Knit Night a couple of months ago. She has dyed up some gorgeous yarn and I designed a couple of patterns that I hope do the yarn justice.

The first pattern is Lambton Panes. This is a top-down shawl featuring garter stitch stripes in a gradient (Cowtown colourway!!!) and a semi-solid, with slipped stitches travelling down to make a lattice pattern. The way the gradient changes through the background makes my heart sing!

Spread out

The pattern has both charted and written instructions, and a photo tutorial for the two-colour Cast On. And because I have a technical-editor-extraordinaire (aka Eleanor Dixon), the pattern is easy to follow. All of this is to say that there’s no need to be intimidated.

front cover

The other new pattern is for the Chainlink Mitts. These are a simple, fun little fingerless mitts with a touch of stranded colourwork. These were designed to highlight Third Vault’s Gytha Worsted yarn and look great with the variegated (Drink Me) colourway as the MC or the CC. If you grab two skeins, you can easily get a couple of pairs of mitts out of it – one for you, one for someone on your gift list.

Hero uncropped

From now until August 13th, if you purchase both patterns at the same time (both must be in your Ravelry cart at the same time) you’ll get £1.00 off the pair.