Introducing Norfolk Boot Toppers

It’s time for another new pattern. This is the first in a 3-pattern accessory set with a British theme, named after British places and using British yarn. (The boot toppers are named after the county of Norfolk as that’s where we were spending the weekend when I first started knitting them.) To celebrate UK Wool Week, I’m offering this first Great British Accessory Set pattern for 50% off until October 16, 2016.

hero-cropped

The pattern is knit in Erika Knight Vintage Wool, a 100% British wool which is great for colourwork. It’s a pleasure to knit with, and comes in lots of lovely colours.

inside-with-daisies

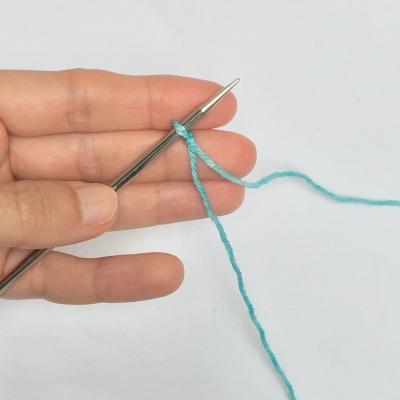
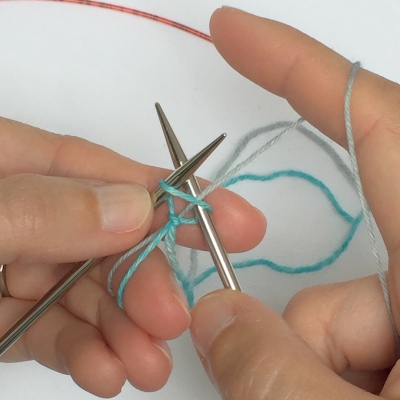
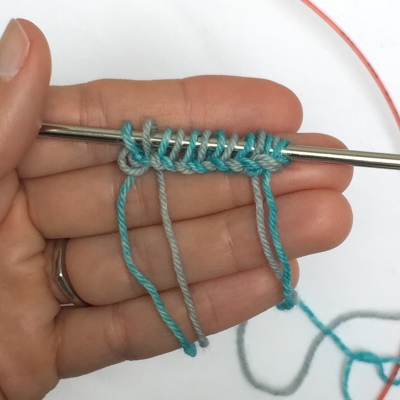
I know that some people are intimidated by colourwork, but you’ve got nothing to fear here. The pattern is done entirely with stripes and slipped stitches – you never work more than one colour per round. It’s a project that looks a lot harder than it actually is, so you’re bound to impress when you give these as a gift! The pattern also has photo tutorials for optional tubular cast-on and bind-off, as well as Kitchener stitch for the optional tubular bind-off, so it’s a great one for learning a new trick or two.

folded-over

You can find the pattern on my Ravelry designer page here. Or just click the “buy now” button below to go directly to the Ravelry checkout.

fixing-while-out

Don’t forget to keep an eye out for the next two patterns in the Great British Accessory Set!

Two-Colour Cast On

I used this Two-Colour Cast On to start my Lambton Panes shawl. I chose this cast on to mimic the slipped-stitch garter stripe edging that runs along the top edge of the shawl. After the first two stitches, it is simply a cable cast on, alternating colours. It’s a pretty simple cast on to perform, with pretty results.

What you’ll need: Needles required for the pattern, two colours of yarn.

Instructions:
First, with CC, make a slip knot and place it on the left needle tip.

step-1-slip-knot

Now insert the right needle tip into the slip knot knitwise, wrap with MC (leaving an end to weave in later), pull through and place on the left needle tip.

step-2-second-st
To make the third stitch, insert the right needle tip between the first and second stitches, wrap with CC, pull through and place on the left needle tip. Note: Always grab the next strand from behind the previous strand.

step-3-third-st

Make the subsequent stitches in this manner, inserting the needle between the first two stitches on the left needle tip, wrapping with alternating strands, and placing on the left needle tip. Do this until the required number of stitches have been cast on.

done-all-sts

And that’s all there is to it! You can use this to cast on as many as you need. It’s also a great one to use for the beginning of a two-colour brioche project, or perhaps some corrugated ribbing.